

iMessage Apps and Stickers
iMessage apps give you quick access to some features of regular apps (if those apps have added iMessage support). For instance, if you have the Dropbox app, you can share a recent file from within an iMessage.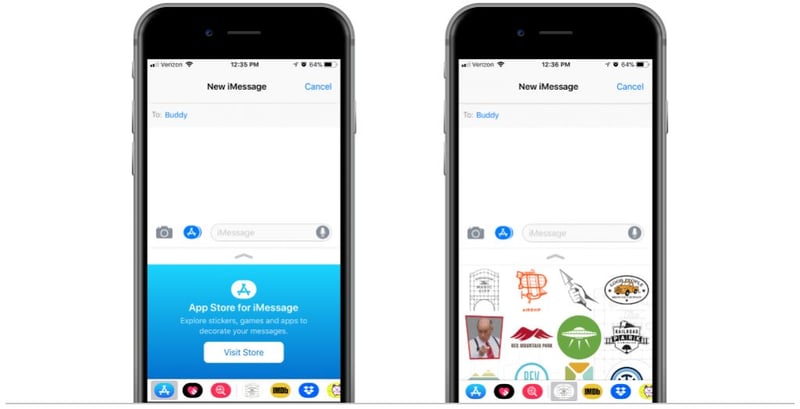 Stickers, or Sticker Packs, are a type of app specifically for iMessage use. You create your Sticker Packs with icons, logos, emojis, and any other image (or animation) you can think of that users can then use in the iMessage conversations. Think of this as the new emoji that allows your users to express themselves as well as allows you to showcase your creative work to the world.
Is there an easy way to build iMessage Stickers?
Developing an iMessage app or Sticker Pack is very similar to developing a full-fledged iOS application. You still need a Mac, Xcode, and some Swift development chops. Each Sticker you create will be added to this Sticker Pack app and deployed to the iOS App Store just like any other app. And with each additional Sticker, you'll need to follow the process once again. This has added a bit of a barrier to entry for many to create iMessage apps. We knew this process could become more streamlined with a content management system. We would need a platform that allowed us to create new packs, add or delete to existing packs, reorder and organize packs in one convenient location. When we couldn't find a platform that checked all the boxes, we decided to build Adhesives!!Adhesives for iMessage Stickers
Airship built Adhesives to be our content management application and app deployment tool for iMessage Stickers. We wanted the ability to modify the sticker pack without resubmitting to the App Store for approval or requiring users to update their app (hello, holiday stickers!). Thankfully, our team is very familiar with the app deployment process. After an implementation of the initial Sticker Pack app, the user can take control of managing the sticker pack using Adhesives without having to re-deploy. Some of the technology we used to build Adhesives included the following:- Heroku
- Cocoapods
- Elixir/Phoenix
- Ruby on Rails
- Swift
- React
Adding Stickers to New Sheets
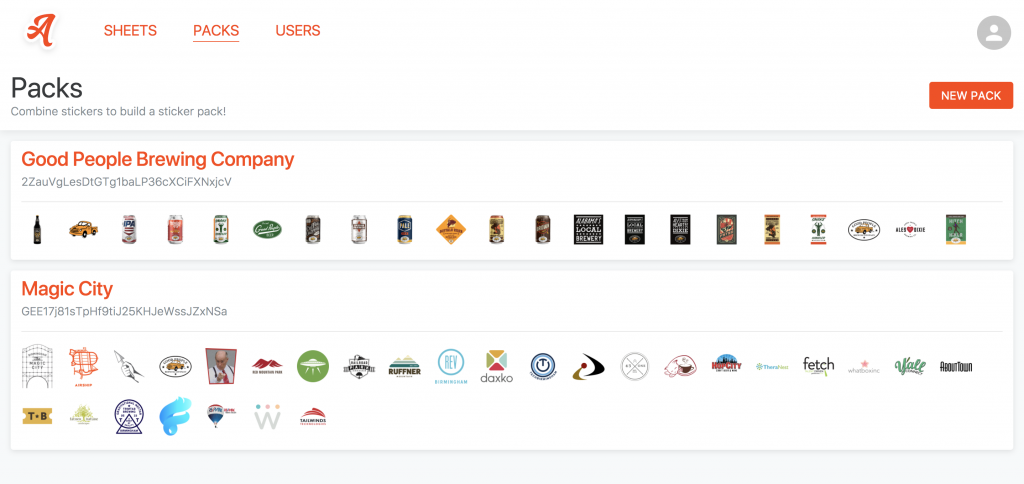
Once logged in, the user will see all of the Sticker Packs they manage. For our example, we see the Good People Brewing Company's Sticker Pack and our own Magic City Sticker Pack. The Packs are the final product seen in the App Store. Once your Sticker Pack completes the initial implementation phase where Airship deploys it to Apple, then it's all managed by you!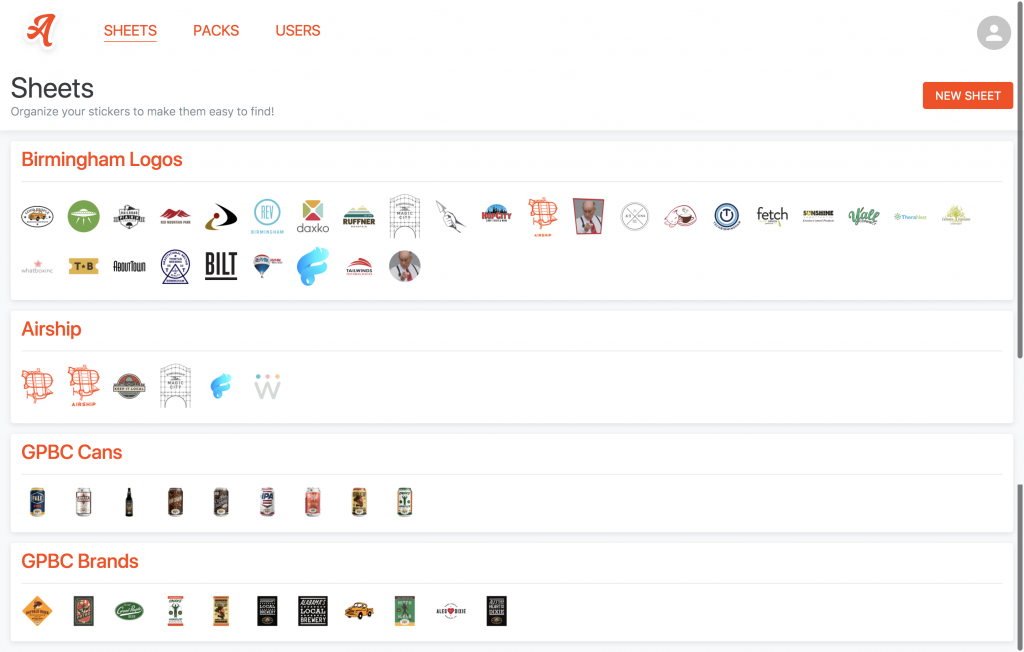
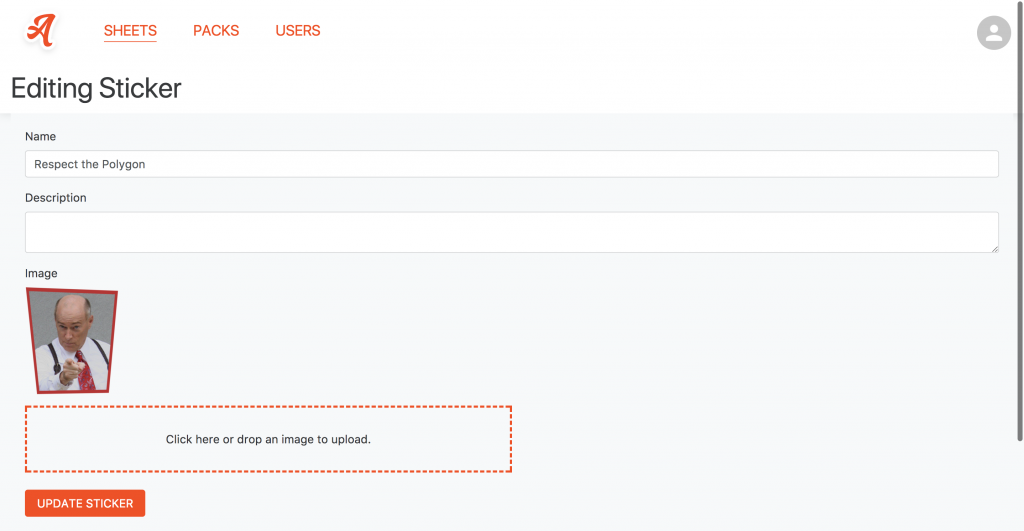
Add or Modify a Sticker
To begin adding or modifying a sticker, select Sheets. This is where your individual Stickers will live and where you can organize them category. The categories can be whatever works best for you, such as holidays, locations, brands, etc.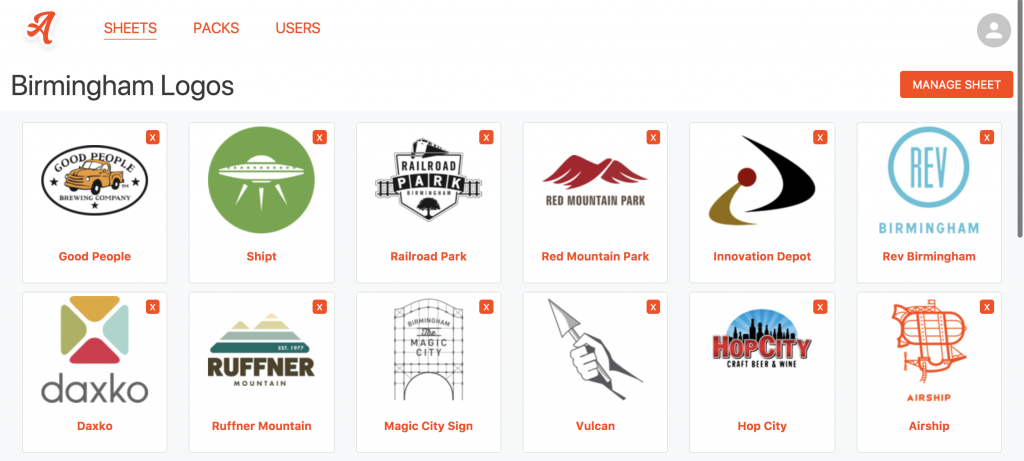 Next, you'll select the Sheet where you'd like to add or edit a Sticker. Upload a new sticker by clicking Manage Sheet and then select and upload your image file. Delete an existing sticker by clicking the X icon on the sticker (you'll be prompted to confirm delete). Modify or replace an existing sticker by clicking on the sticker name.
Deploying New Sticker to Sticker Pack
The final step of adding your new image to the Sticker Pack is easy! Select the Packs option at the top and then click on the Sticker Pack you'd like to edit. You'll see a list of available stickers that are not currently in the selected Sticker Pack on the left, organized by Sheet. Simply drag and drop which sticker you'd like to add into the Sticker Pack and then arrange where you'd like it to appear from within the app.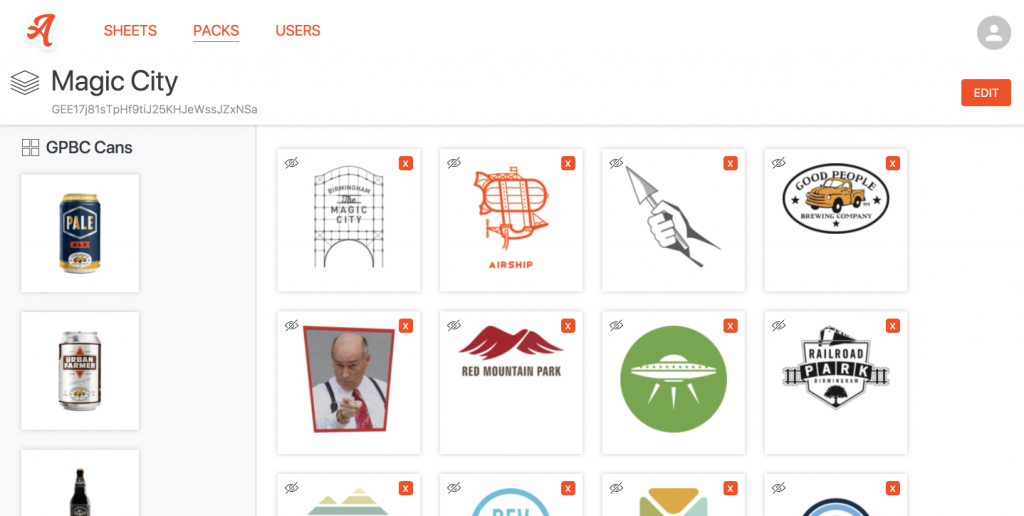 Once added, the changes are deployed immediately - no need to update your app. The new sticker is available immediately!!


